To use the menus to choose a window layout
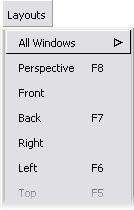
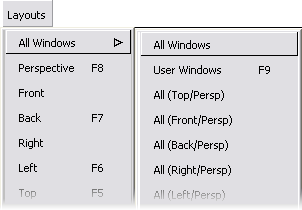
The All Windows command arranges view windows in the following layout: Top, Left, Back, and Perspective.
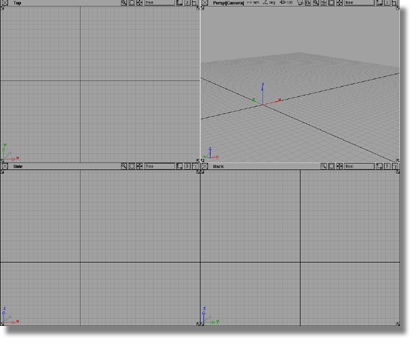
These tutorials sometimes refer to menu options
by the path through the menus to the item. So, All
Windows is: Layouts > All Windows > All Windows  .
.
As an alternative to the single-click method, you can use the pull-down menus by dragging the mouse down the menu and releasing on the option you want.
Use these controls on the borders of view windows to move, close, and resize the window:
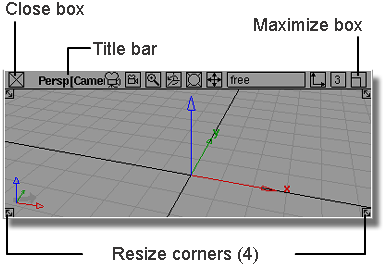
The view windows have more controls across the top, but for now, concentrate on the close box, title bar, maximize, and resize corners.
You will discover the functions of the other icons later in the tutorials.
You can change the size of windows using the resize arrows at each corner.
To change the size of a view window using the resize arrows and maximize box
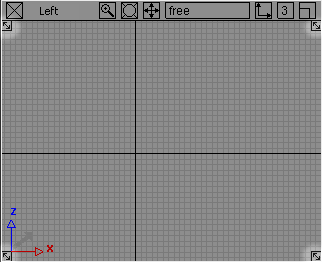


The view expands to fill the entire screen.
Notice that the maximize box changes to black to show the window is maximized.

To move and arrange the remaining windows
The title bar is the area at the top of the window, between the close box and the other icons on the right.
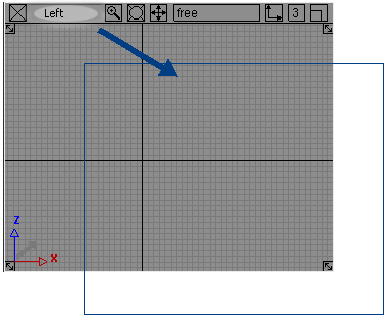
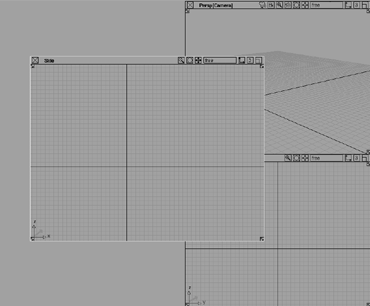
The windows are like a stack of papers on a desk. As you shuffle them, they can overlap.

When windows overlap like this, you can click in a window to move that window to the front of the stack.
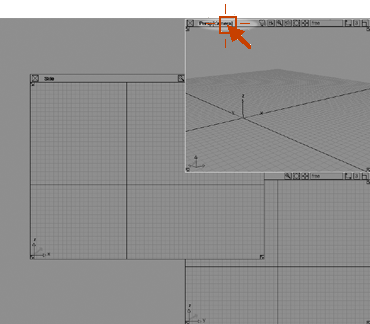
The windows are probably a little disorganized at this point. Quickly reset them to a default layout using the commands in the Layout menu again.
 .
.
Notice one of the view windows has a white border. This is how Alias indicates the active view window (sometimes also called the current view window).
The active view window is always the last view window you clicked in.
Some tools change behavior based on which view is active, but for now you can disregard which view window is active.
Saving an arrangement of windows
If you have a particular
choice of windows that you plan to use repeatedly, you can save the
set by choosing Layouts > User Windows > Save Current Layout  . You are prompted for a
file name. To use this layout in the future, choose Layouts > User Windows > Retrieve Layout
  .
.