In this part of the tutorial, you will take a graphic design for the label of the shower gel bottle, and apply it to the label surface.
The process of applying the graphic is called Mapping.
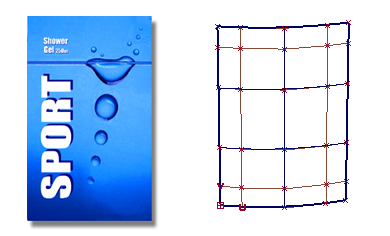
The graphic file (shown on the left) is in a standard format, such as a .tif or .jpg. It can be mapped onto a surface (shown on the right).
The result is that the graphic file follows the U and V directions of the surface. If the surface is trimmed, the graphic appears on the part of the surface that is visible.
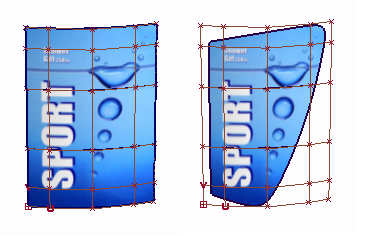
To apply the graphic as a colored label, you will map the Color parameter.
Opening the tutorial file (optional)
If you successfully completed Part 1, proceed to the next step: Create a Label Shader, below.
If you were not successful in part 1, open the file called Render_Basics_part2.wire, located in the wire directory of the CourseWare project. This file contains the completed model from Part 1.

Watch Part 2 of the tutorial.
 tool to create a third shader.
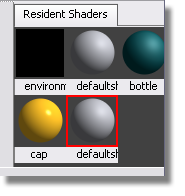
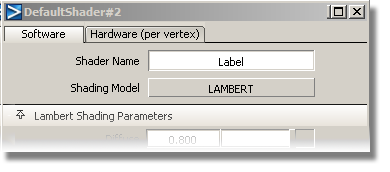
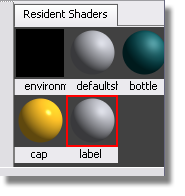
You don’t need to change the color of the shader, as you will now map the label graphic onto the Color channel. The graphic image will replace the default grey color.
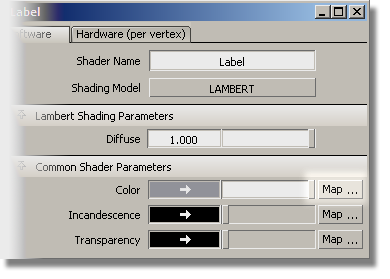
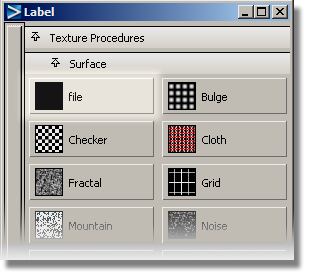
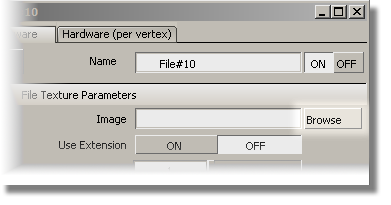
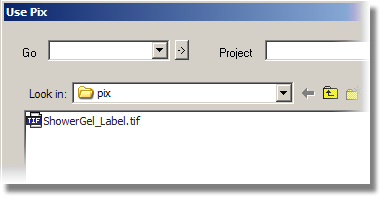
The File Browser opens into the pix directory of the Lessons project. To retrieve the file that contains the label image, navigate to the CourseWare directory.
The pathname of the label file is shown in the Image section.
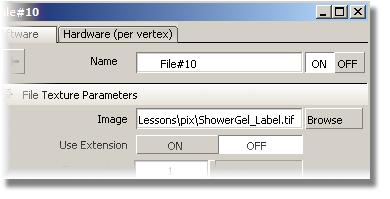
Leave the editor window open on the screen, as you will use it later to modify the position of the label.
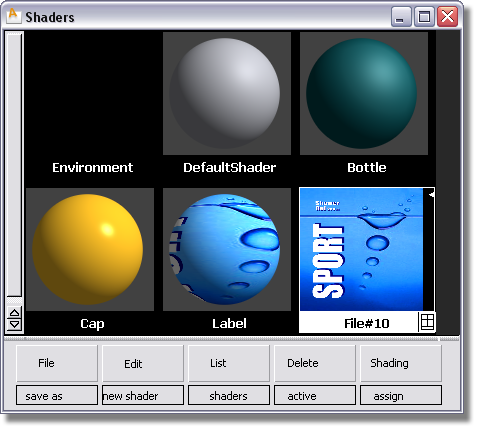
The shader icon in the Visualize Panel shows the label wrapped around the shader ball.
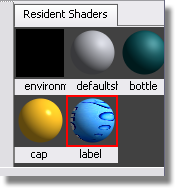
Now, you will assign the label shader to the label surfaces.
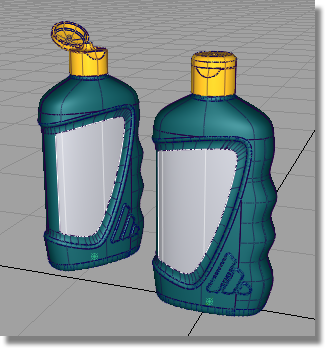
 icon.
icon.
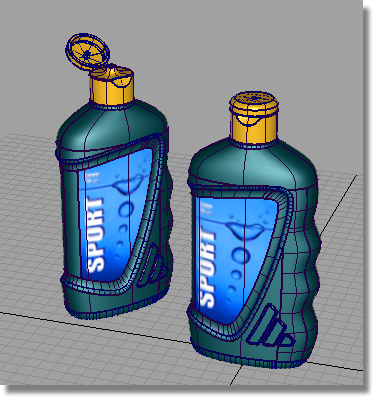
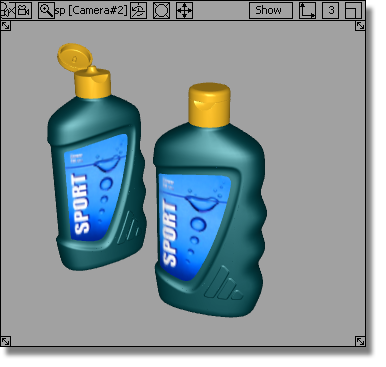
The label graphic now appears on the label surfaces.
 to de-select the surfaces.
The placement of the label can be modified in the Surface Placement section of the texture editor window.
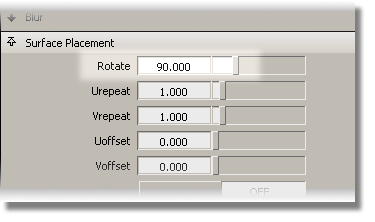
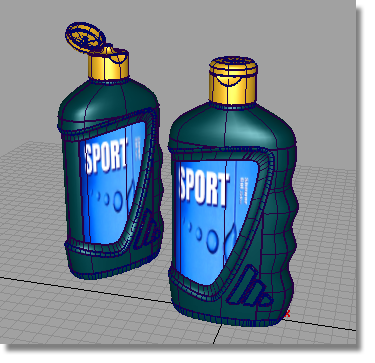
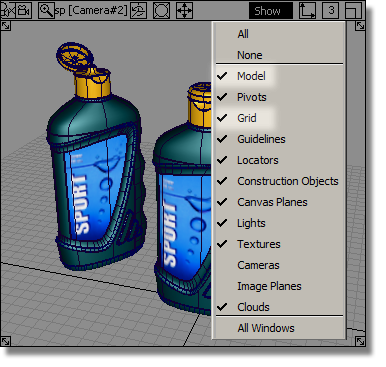
Toggle off the wireframe and grids using the Show button in the Perspective window pane.
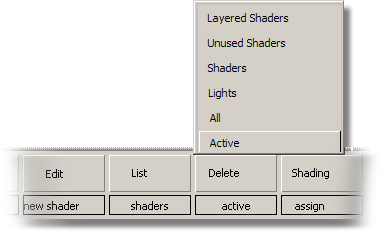
In the Multi-lister, you can see the label graphic is shown as a File Texture attached to the Label shader. If you want to delete the label graphic, you can select it in the Multi-lister and use Delete > Active on the Multi-lister menus.
