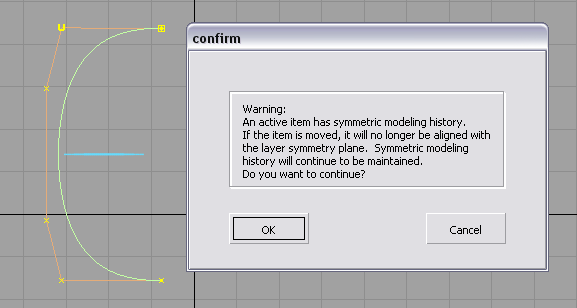
Make a curve symmetrical with the Object Edit > Symmetric Modeling tool, then modify both sides simultaneously.
The following workflow assumes that a curve has been created across the Y axis.
To modify a curve across a centerline
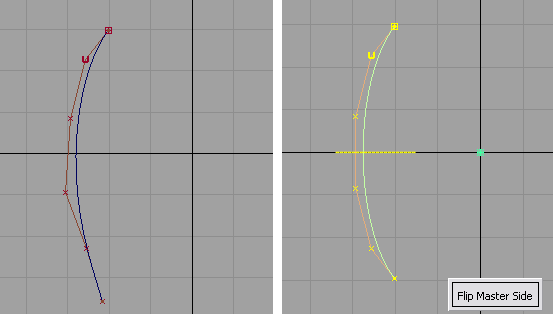
If the curve is not already symmetric, the tool modifies the controls to make it symmetric. The position of the controls from the beginning of the curve are applied to the symmetric partners at the end of the curve. Click the Flip Master Side button to have it work the other way around.
A yellow symmetry plane is displayed. This plane corresponds to the default symmetry plane for the layer the object belongs to (XZ plane by default). You can modify it by using Layers > Symmetry > Set Plane.

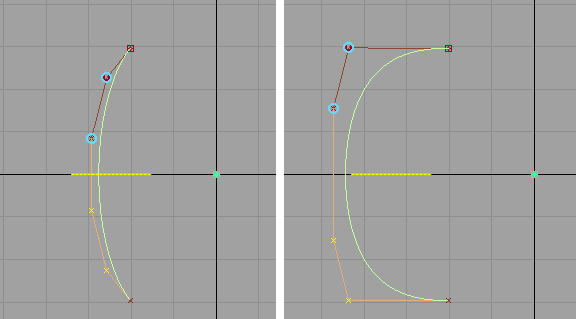
Blue circles appear around the corresponding CVs on the symmetric half.

