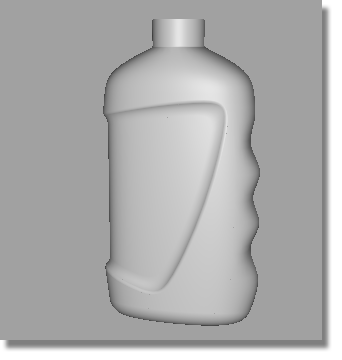
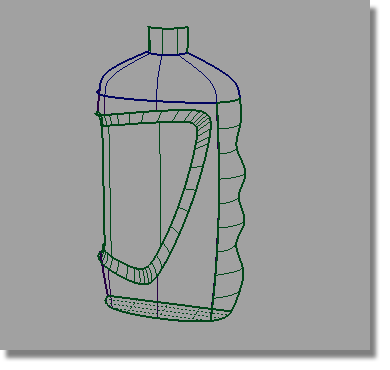
The label surface is recessed back from the main bottle surface. The gap between the two surfaces will be bridged by a Birail surface, which will give the label area its character.
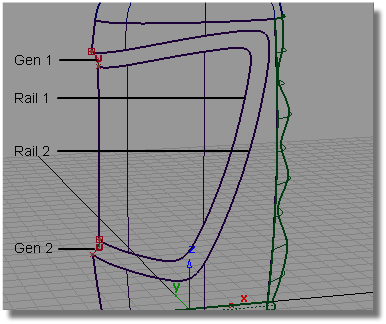
To create the Birail, you will use the two trimmed edges as Rails, and create two new curves for the Generation curves.

Watch Part 4 of the tutorial.
Opening the tutorial file (optional)
If you successfully completed Part 3, proceed to the next step: Creating the Generation Curves below.
If you were not successful in part 3, open the file called showergel_part4.wire, located in the wire directory of the CourseWare project. This file contains the completed model from Part 3.
Creating the Generation Curves
Previously, you used the Align tool to create tangent continuity between two surfaces. Now, you will use the Align tool to create a tangent relationship between a curve and the edge of a surface.
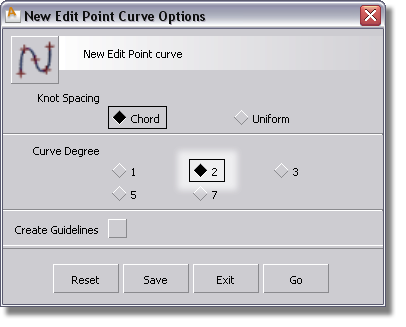
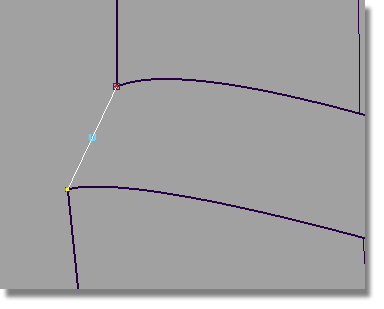
To keep the Birail surface smooth and taut, you will use a curve with only 3 CVs to define the character of the blend. Two CVs will control tangent continuity to the label surface, and the third will control positional continuity to the body surface.
 .
.
Double-click to open the option window. In the Curve Degree section choose 2. This will create a single-span curve with only 3 CV points.
 (
(  +
+  (Windows) or
  +
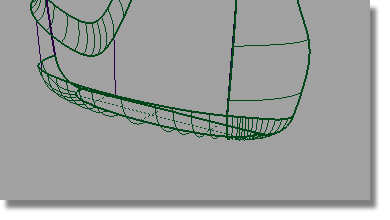
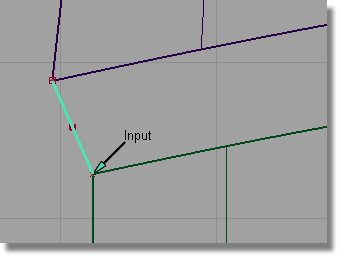
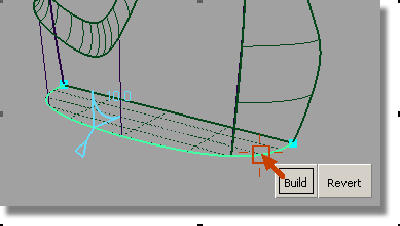
+  (Mac) keys together) and click
the edge of the body surface. Then, without releasing the mouse
button, drag to the bottom of the edge until the blue cross turns
to a yellow one, confirming that you have accurately reached the
corner of the surface.
(Mac) keys together) and click
the edge of the body surface. Then, without releasing the mouse
button, drag to the bottom of the edge until the blue cross turns
to a yellow one, confirming that you have accurately reached the
corner of the surface.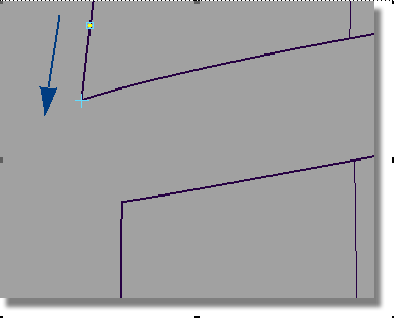
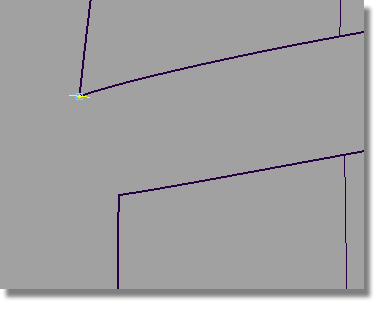
The first edit point of the new curve is placed.
again and click the edge
of the label surface, then without releasing the mouse button, drag
to the top of the edge.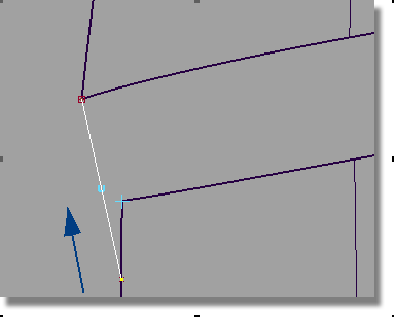
 tool. Double-click the icon
to open the option window.
tool. Double-click the icon
to open the option window.
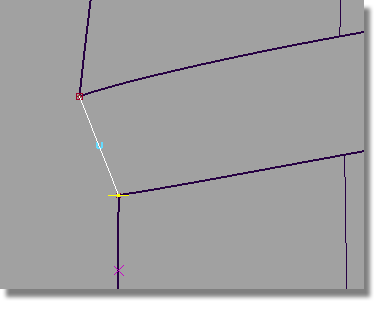
In the Continuity section, choose Tangent.
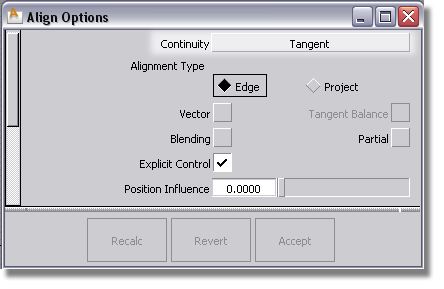
Click the vertical edge of the label surface, near the curve.
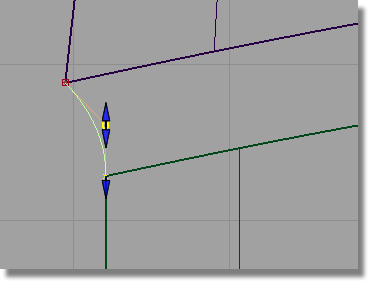
The curve is adjusted to be tangent to the surface.
again to align the curve
to the label surface.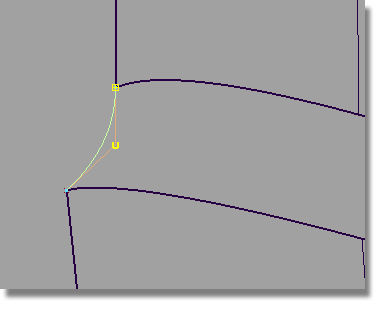
Building a Birail Surface with Continuity
 tool. Double-click the icon
to open the option window.
tool. Double-click the icon
to open the option window.
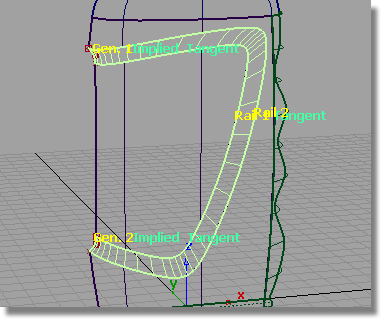
| gen 1 | Implied Tangent |
| gen 2 | Implied Tangent |
| rail 1 | Tangent |
| rail 2 | Position |
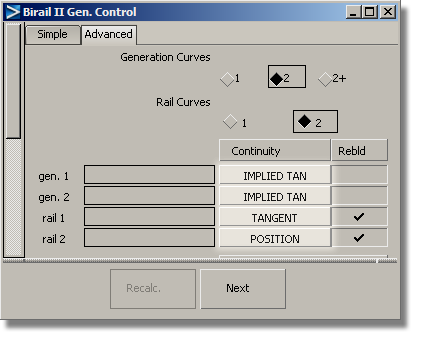

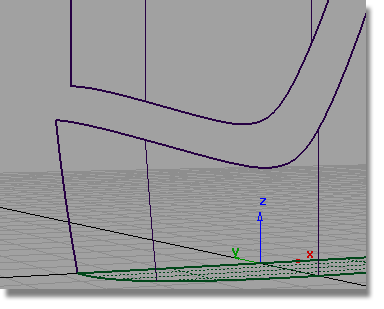
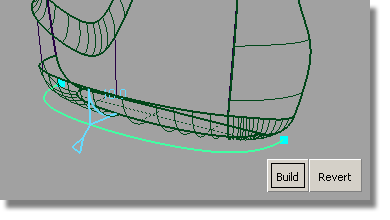
The Birail surface is created.
 to de-select the surface.
 , then pick and assign the
two curves you created to the Curves layer.
, then pick and assign the
two curves you created to the Curves layer.
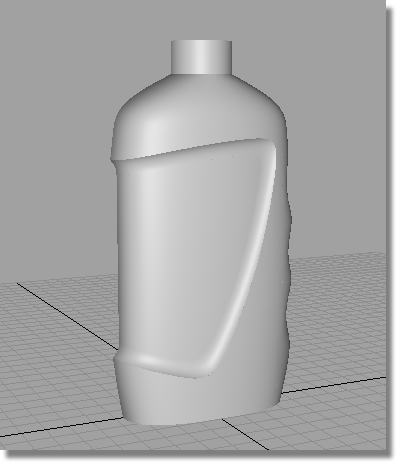
Completing the Model with Round Surfaces
To complete the model, you will soften all the sharp edges with Round surfaces.
 tool. Click the edge between
the neck and the shoulder surfaces.
tool. Click the edge between
the neck and the shoulder surfaces.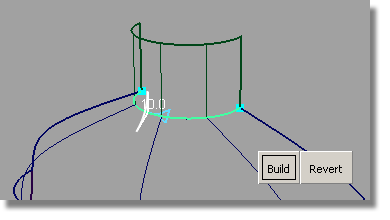
The default radius value is shown, and highlighted in white.
 (Windows) or
  (Mac).
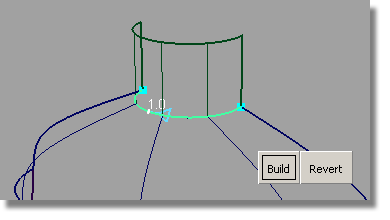
to remove the round indicators.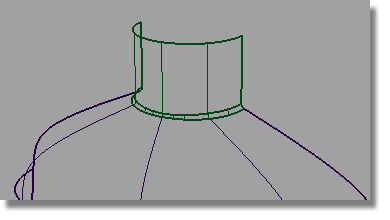
tool again to create a
fillet along the sharp edge of the label birail surface.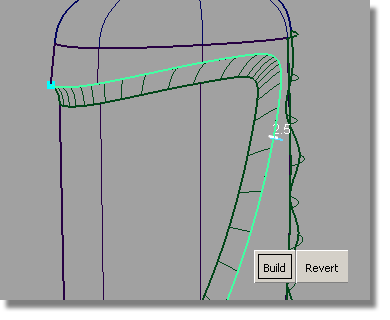
to remove the round indicators.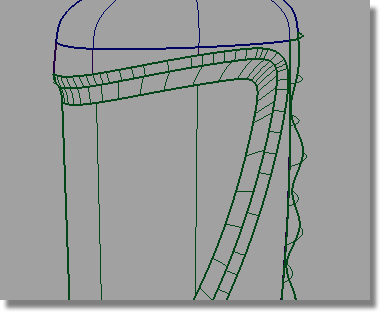
tool again to create a
fillet.
As there are two edges at the base, click first on main bottle surface edge.

Type in a Radius value of 10. Then, click the edge created by the finger grip surface and the base. The round surface will then be built along both edges.
to remove the round indicators.