Lets you move a plane through a surface or mesh to show cross sections dynamically.
 ❒.
❒.
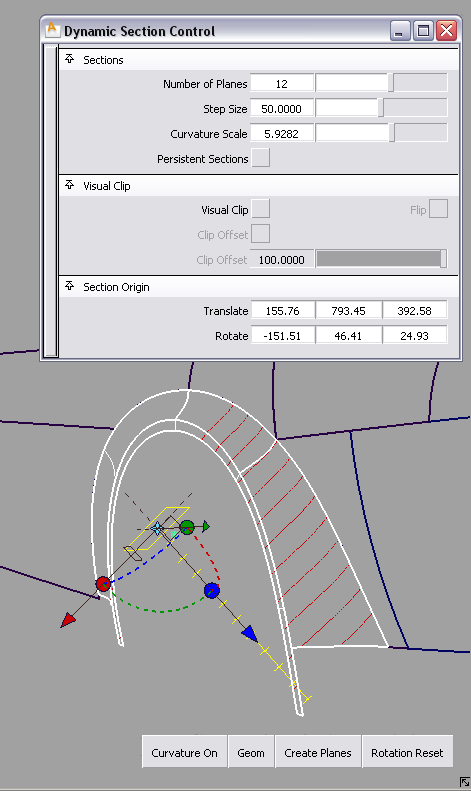
A sectioning plane appears, at the geometric center of the object(s). A red cross section appears on the selected objects where the plane intersects them.
The cross sections appear as red lines and update on the objects.
Changing these values update the plane manipulator, and vice-versa.
The cross sections update as the plane is moved/rotated.
 to sort out your cross sections
into different layers, according to the plane they lie in (X, Y,
Z or Other). This grouping is useful for manipulating
cross section data.
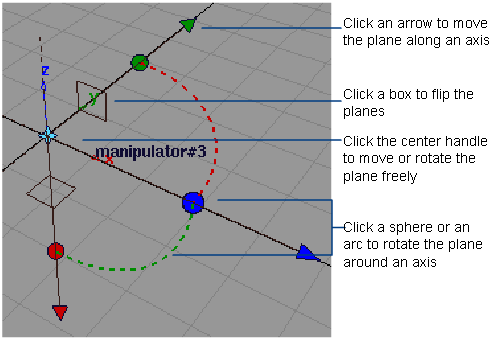
How do I use the manipulators?
Sectioning Plane
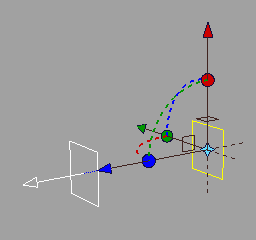
Clip Offset Plane
Define two visual clipping planes
You can define a secondary visual clipping plane parallel to, and at a given distance from, the primary clipping plane. Only the part of the model between the two clipping planes is displayed.
This secondary plane is always driven by the location and direction of the primary plane.
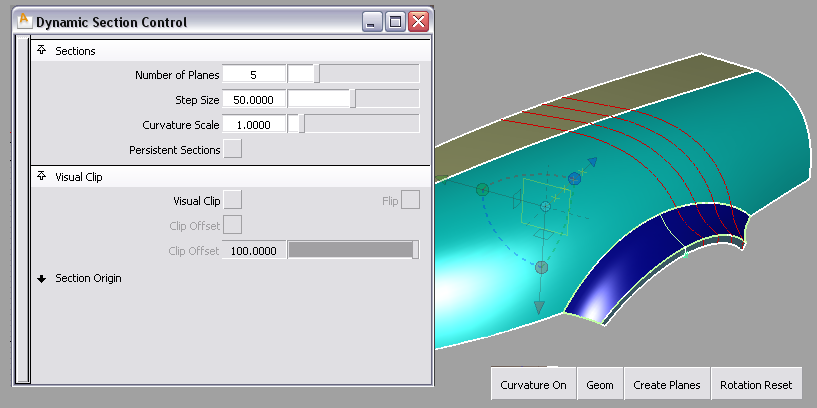
The display of surfaces/meshes is clipped to the location and direction of the current plane.
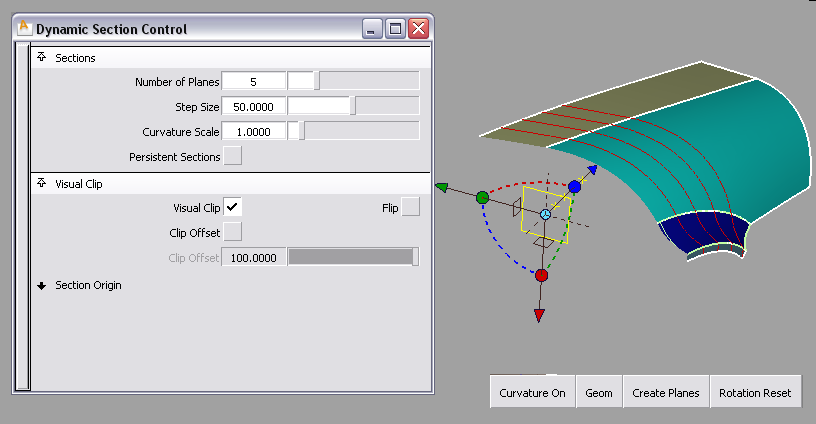
An offset plane appears, and the display of surfaces/meshes is clipped to the location and direction of that second plane as well, leaving only the part of the model between the two planes visible.
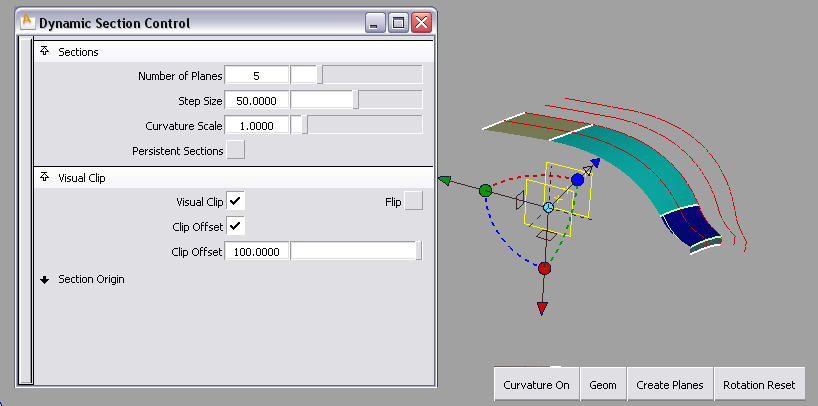
The clipped area updates.
Both the slider value in the option window and the offset plane manipulator on the model update to reflect each other.
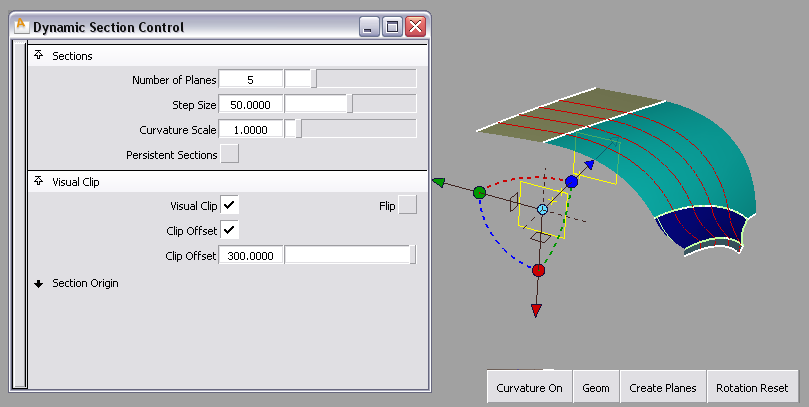
If the Persistent Sections option was turned on, the sections will remain after exiting the tool.
Use the Clear button in the Cross Section Control tab of the Control Panel to remove them.