The first step is always the hardest. So, you had better not start with the software. Instead, turn away from your screen and take a little side-trip to a workshop.
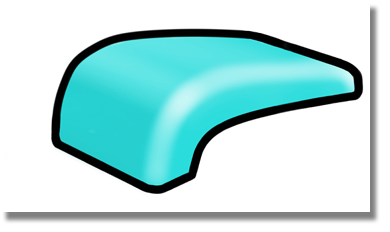
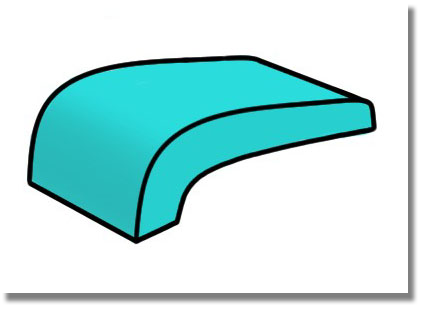
Inside the workshop, there sits on a workbench a foam cube that you will transform by hand into a model resembling the one below.
Later in the tutorial, you will recreate and surface the model using Surface. Before you begin though, take a moment to imagine what steps you will undertake in building the model. This exercise will provide you with a guide for detailing the construction steps.
What should you do first?
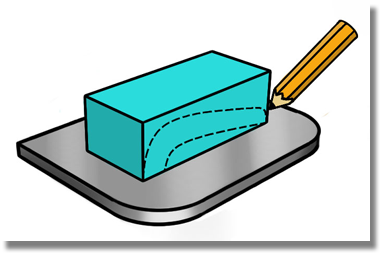
You can start by using a pencil to sketch the center line onto the side of the cube body.
Once you have sketched your design onto the foam body, go to the grinding machine in the corner of the workshop and sand your foam block. You will find it quite difficult to sand the entire center line in one step. Instead, try sanding the middle portion first. After that, the front and the rear can be worked independently.
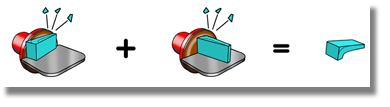
You will finish with the transitions between front/top and rear/top.
The bottom is easy. You will do it in a similar fashion to the top but using a different tool.
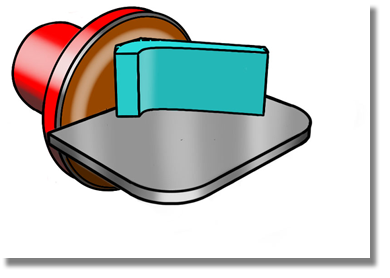
Now, sketch the top view onto your foam block and return to the grinding machine to perform the same procedure as before.
Having fashioned a model from the foam cube, you are left with a theoretical model – a model with no fillets.
To complete the model, shape the fillets and ball the corners by hand.
Begin the fillets by defining the fillet lines with tape.
Following the taping procedure, sand the foam by hand until you have produced the fillets and rounded corners.

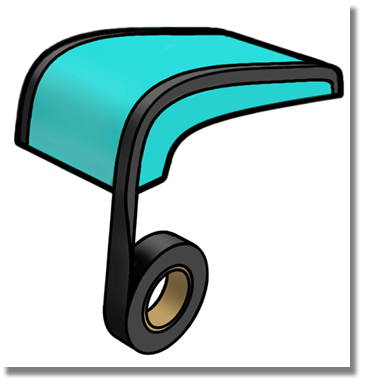
Continue to refine the model until the end product resembles the model below.
Congratulations, you have produced a foam model using a method that is tried, tested, and true. As we step further into the tutorial, you will use this same classic method to develop your surface model.


