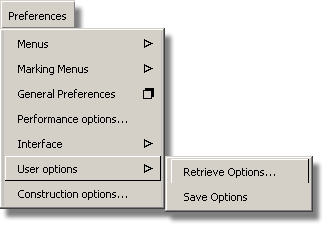
The Surface Shelf is specifically designed for this tutorial. Some tools have been removed from the shelf to allow you to concentrate on those tools required for this tutorial.

The Control Panel shelf provides you with a
faster avenue to a customized collection of tools. It is a good habit to use a customized
Control Panel shelf. As the Control Panel shelf does not offer enough
space for all of the icons, use a different method to access the
tools. Instead of recognizing icons, you must know the full names
of the tools. (For example, the full name of the Fillet tool
is Surfaces > Surface Fillet  ).
).
To access the tools, right mouse click on a given tab to produce a sub-menu pop-up window containing a list of tool names and option boxes (where applicable).
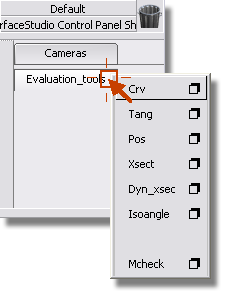
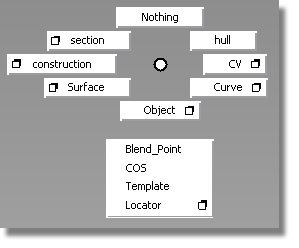
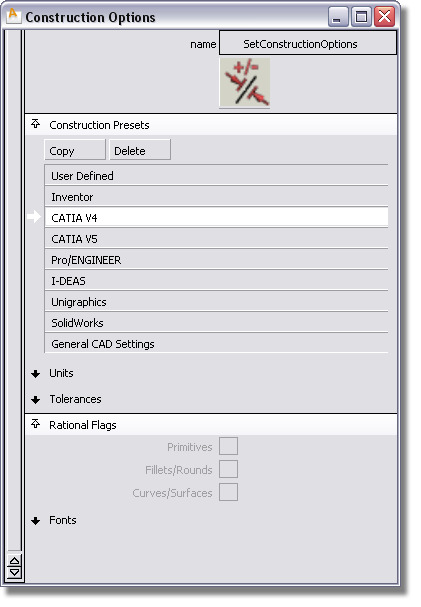
 ❒ panel as shown in the image below.
 and click the Catia option. The
Construction Options window allows you to set a variety of modeling
tolerances. If you will be exporting your data to one of the CAD
packages listed in the Construction Presets tab,
simply click the name of the CAD package and Surface will automatically set
the tolerances appropriate to that software.
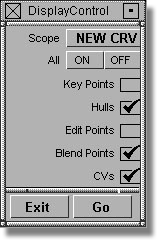
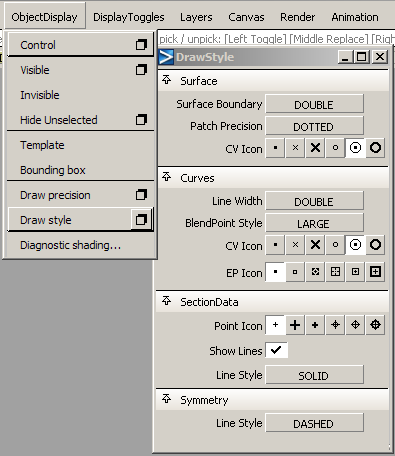
 option box and set the style
of curve and surface CVs as shown in the image below. For
beginners, changing the draw style of CVs to these settings will
allow for easier recognition.
 from the menu.